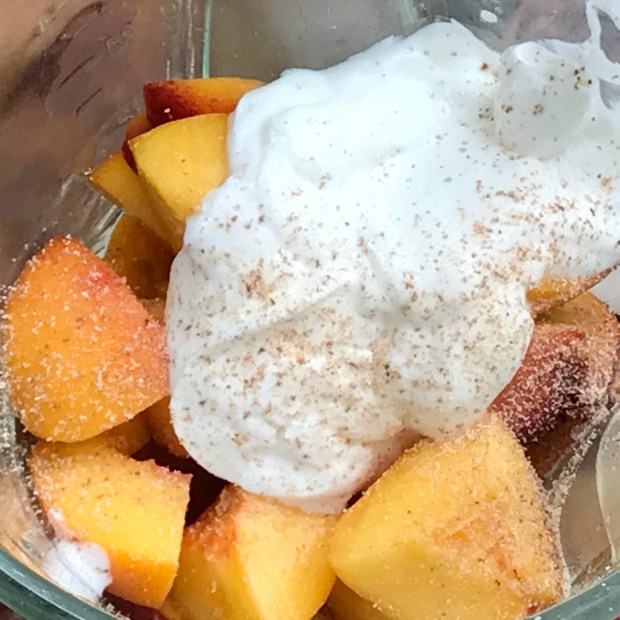
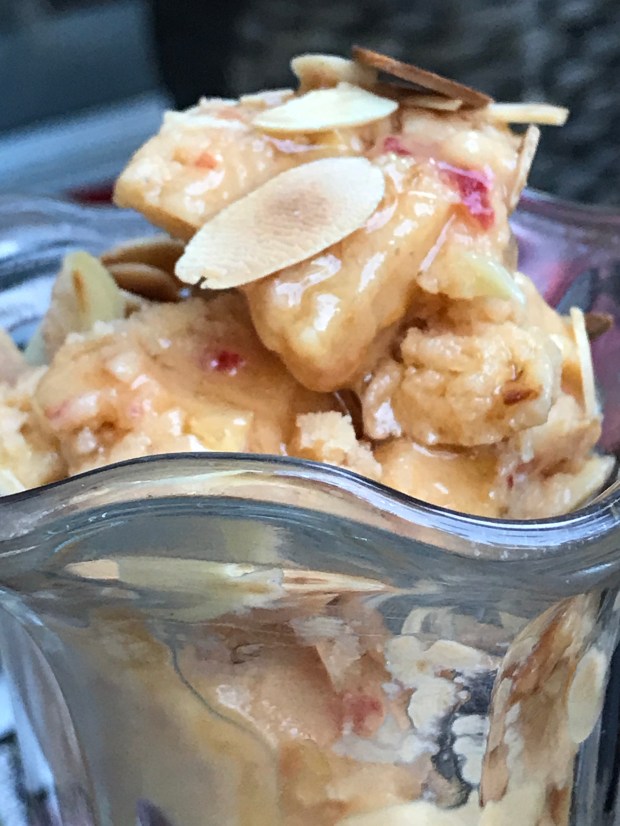
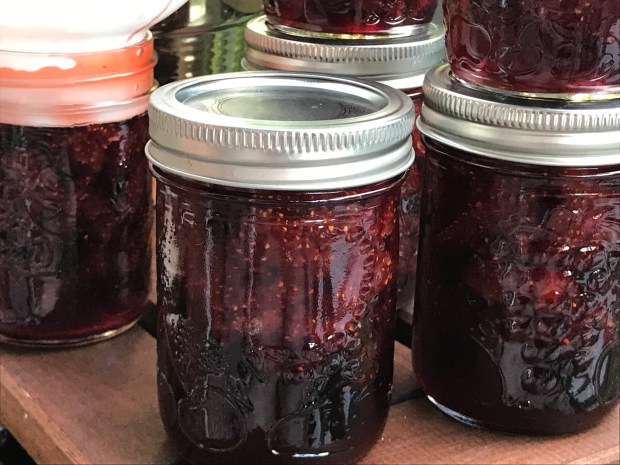
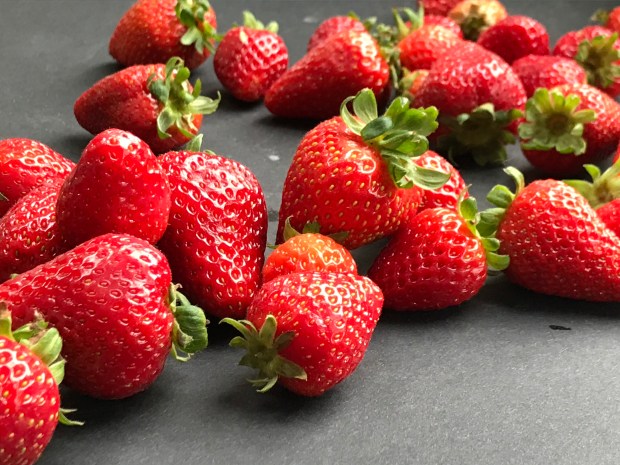
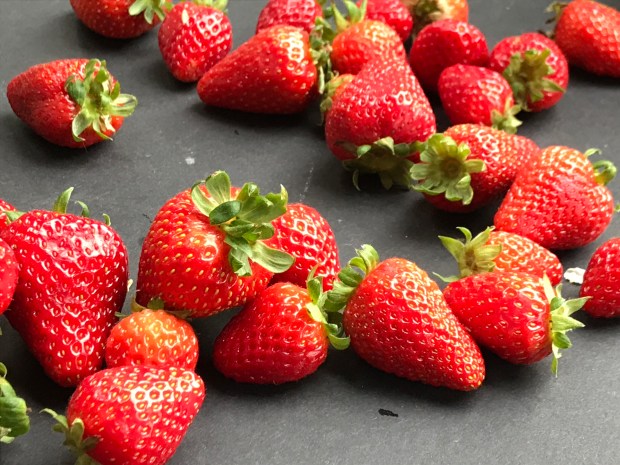
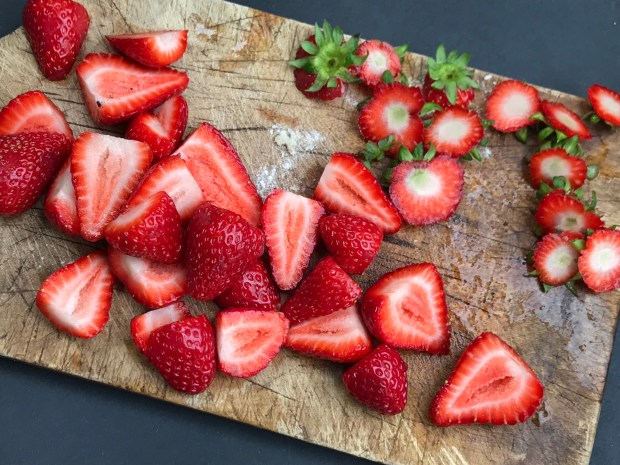
August is the beginning of the bountiful harvest at the market. The stalls are packed with fresh fruits and veggies, in every colour of the rainbow. I’m like a kid in a candy store, wanting to buy everything in sight. Those are the moments I wish I had a large brood of children to feed, giving me an excuse to cook up a storm! Every summer I give myself a challenge. A few years ago, I realised I only ate raspberry jam, not really enjoying any other fruit jams, so I made myself cook up fruits as they came in season. Strawberry vanilla, sugar and spice plum, cinnamon peaches, concord grape jelly, crabapple jelly, apple butter… The pantry was stocked and I very proudly offered my jewels to friends and family. I have to say, I really did like other fruit jams, I just didn’t like the commercial variety! This year’s challenge is fruit ice cream. I am not a huge fan… But then a few weeks ago, I made that awesome strawberry gelato and this week, peaches with toasted almonds. YUM! Super simple, wash, cut, place in blender, then into ice cream machine and presto, superb summer treat! I didn’t even bother removing the skins, so bonus, extra vitamins and beautiful specs of colour. Wait till you see what I’ve though up for this weekend. Hint? It’s yellow and it’s sweet….. Ha! 🙂 So enjoy these precious moments while we’ve got them, gorge yourself with all those beautiful fruits and veggies, it’s the one time of year simplicity is where perfection lies…. Happy end of summer!


Recipe
4 cups ripe peaches, rinsed and cubed
2/3 cups simple syrup (1/3 cup sugar + 1/3 cup water, bring to a simmer for 5 minutes then cool)
2/3 cups cream
1/2 cup toasted almonds
1 teaspoon grated nutmeg
Instructions
Place peaches and syrup in blender. Add cream and nutmeg and stir to blend. Place in the fridge until thoroughly cold. Place in the ice cream maker as per manufacturer’s instructions. When ice cream is almost completely frozen, add toasted almonds. Store in an airtight container in the freezer. Ice cream keeps for roughly one month, if you can resist the urge to eat it all up before! Enjoy 🙂


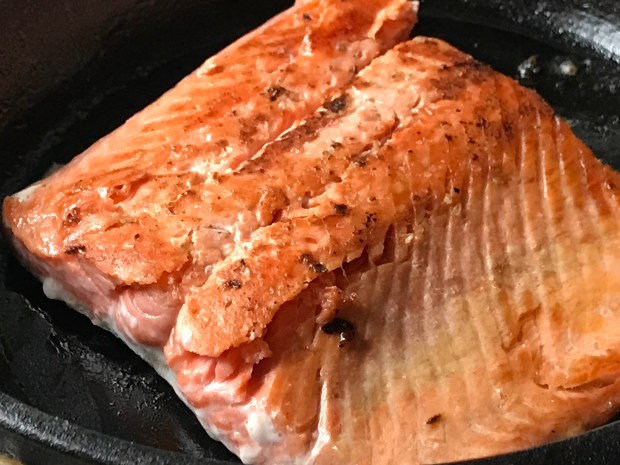
 Sometimes there are just too many things to do. Too much work, too many errands, too many projects. That’s when imagination is key, because despite being busy, I still want to eat well. And I still want it to be good. I am always amazed at the last-minute, 15 minutes or less dinners I come up with. When friends or colleagues say that they’re just too busy to cook, I have to scratch my head. Build up a repertoire of easy go-to recipes and from time to time, improvise. You’ll be surprised at what you come up with! The weather isn’t quite what it usually is at this time of year, however I really crave fresh fruits and veggies. Although these are not local, avocado, mango with tomato and basil really work well together and as a side to salmon, well it’s just really delicious!


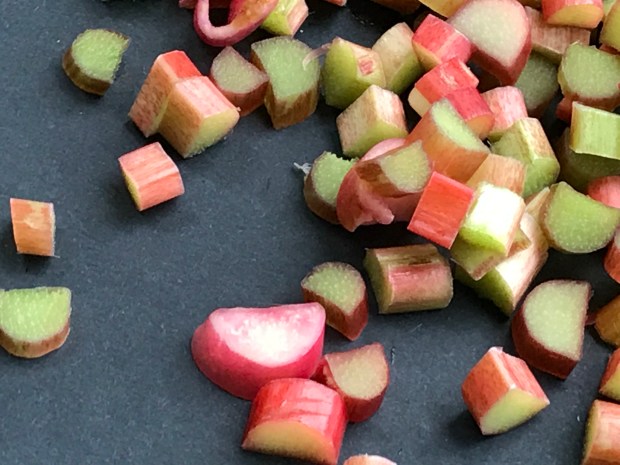
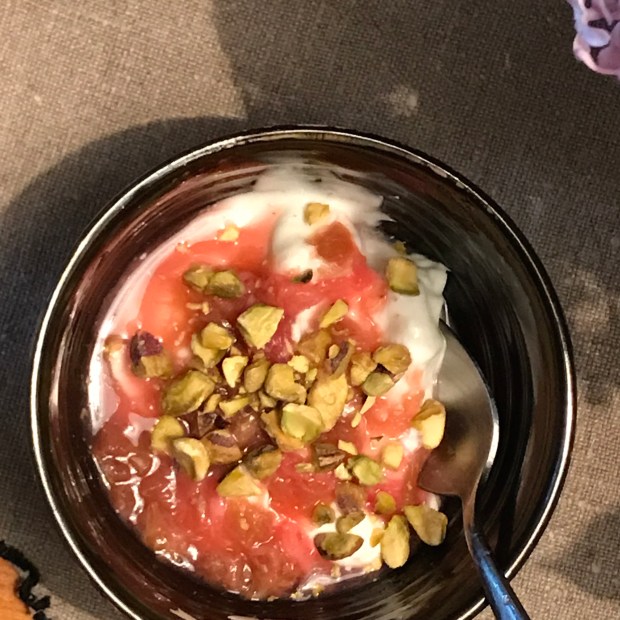
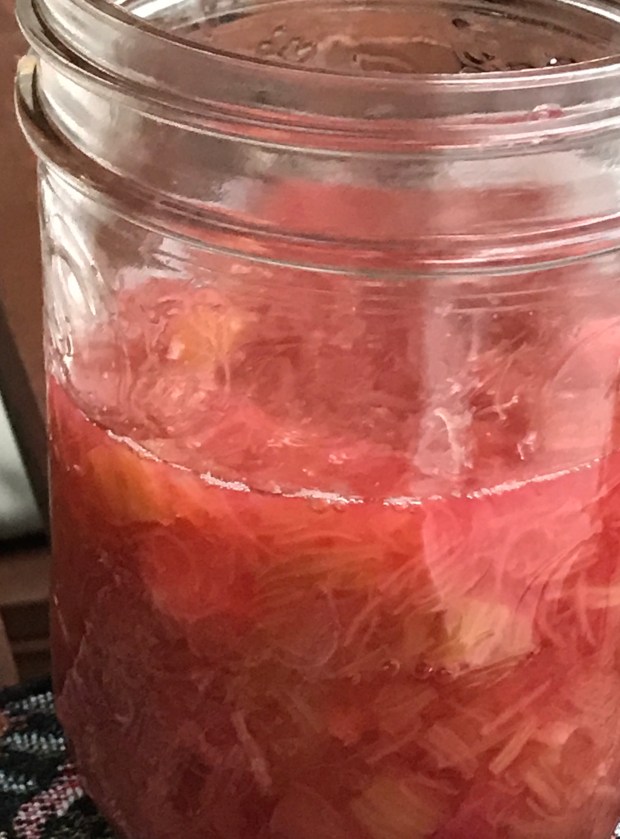
 I truly wish this weather would clear up. Montreal is such a sunny beautiful city and spring is spectacular. This spring however has been so grey and rainy… I want to feel sun on my skin, have a picnic in the park, cocktails on a terrasse, eat supper on my terrasse. I’m sure you get the picture! And I guess I should be grateful that I’m not affected like some in the area have been with flooding. Still, don’t we all deserve some summer weather after going through a long winter? Plus, I’m concerned how this affects local farming 😦 Here’s to hoping summer hits us with its sunny skies and steamy heat!