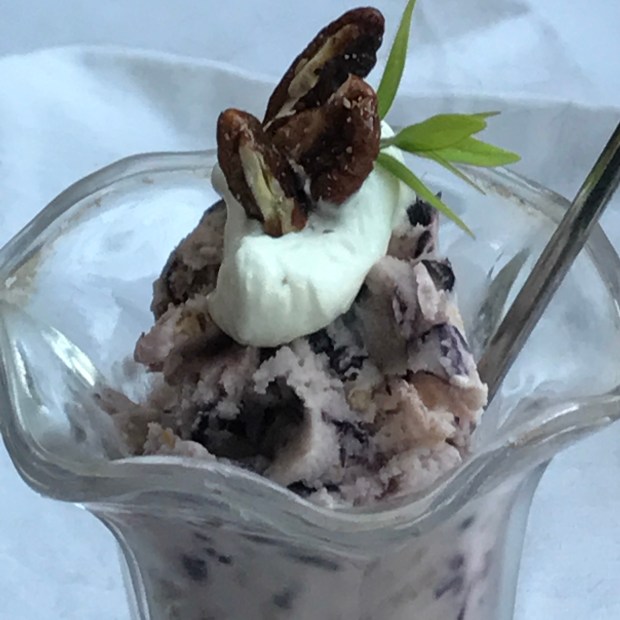
In my never-ending quest to challenge my taste buds, I am trying new combinations for gelato’s. As blueberries and corn are in season, I thought, well, why not? Pecans work well with blueberries, let’s add some! Low and behold, it was delicious! I also tried something new, adding 1/4 cup alcohol to have a softer serve on the ice cream and it really works! The only mistake I made was using rum, too pungent for delicate berries and sweet corn. I’m thinking something like a dessert wine might work really well. You don’t have to add the alcohol, you will then need to remove ice cream from freezer 10 minutes before serving. Happy experimenting!


Recipe
2 cups blueberries, well rinsed
2 ears corn, steamed and grains cut from stalk
1/2 cup pecans
1 tablespoon butter
1 tablespoon maple syrup
3/4 cups cream
1/2 cup sugar
1/2 cup water
1 teaspoon cinnamon
Dash salt


Instructions
Make simple syrup: bring to a boil sugar & water and allow to simmer for 2-3 minutes. Place in the fridge to chill. Cook ears of corn in boiling water for 10-15 minutes, allow to cool before cutting corn off the cob. Place corn nibblets in fridge to cool completely. Heat a small cast iron pan on medium heat, add butter and when sizzling, add pecans and cinnamon, stir to combine and allow pecans to caramelize. Add maple syrup, stirring occasionally until sticky. Remove from heat and scoop onto parchment paper and allow to cool completely before roughly chopping, set aside. Place blueberries and corn in blender with simple syrup, pulse to combine but not too much, you want small bits of fruit throughout. Add cream and blend to combine. If mixture is cold, continue to freezing in ice cream machine or place in fridge to chill thoroughly before adding to ice cream machine. When ice cream is almost completely solid, add candied pecans and alcohol if using. Remove ice cream and store in container in the freezer. Makes 6-8 portions. Keeps in the freezer up to a month. Enjoy!


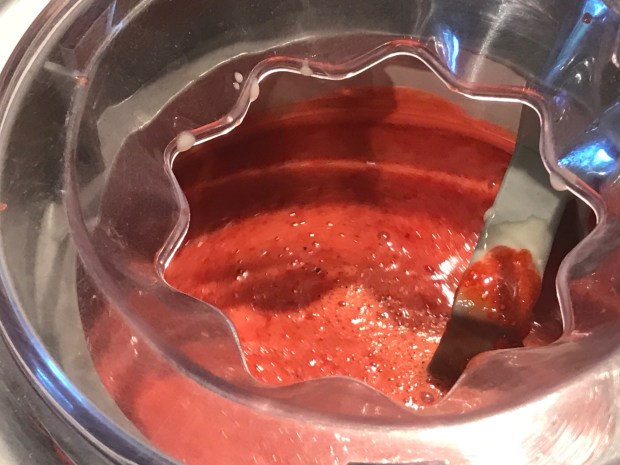
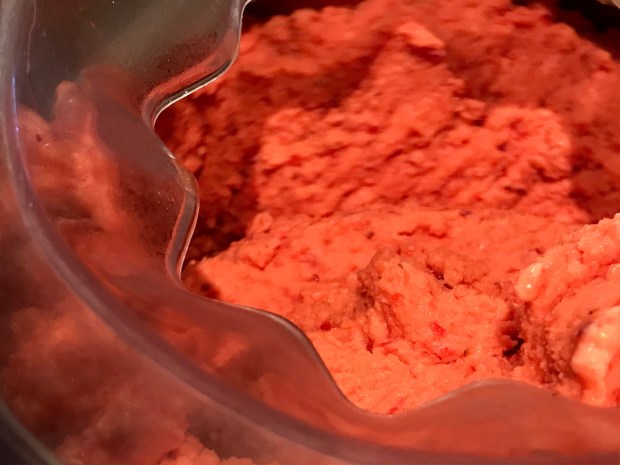
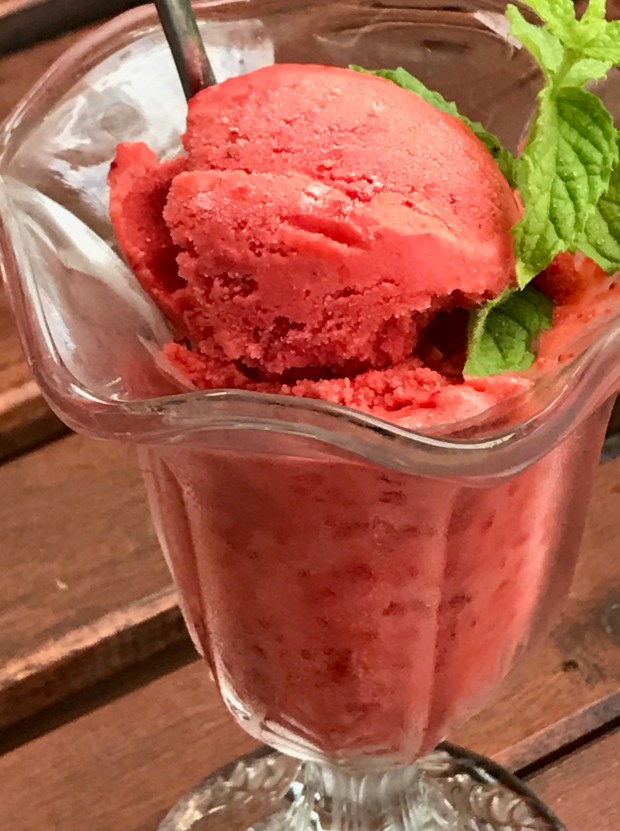
 We are close to the end of strawberry season, and I’m eating them every chance I get! A true Montreal summer has hit us, heat and humidity and best of all sunshine 🙂 And who doesn’t associate ice cream as of th best hot summer enjoyments? Maybe because we all associate this cold desert with our childhood memories of excitement and anticipation. My favourite ice cream flavours generally tend toward chocolate and nut flavours, but as everything food related, I like to challenge myself and make things I wouldn’t necessarily order at a restaurant or café. At first I wasn’t thinking of making ice cream, as I bought this big basket of strawberries , I was going over the dessert options using strawberries in my mind, eliminating all those that would be too heavy. I also am not very enthusiastic about turning the oven on in the summer heat. And being in surgery recovery, I don’t want to deal with weight issues because I’m eating all these rich foods and not really moving about much. Then, looking over different recipe books, i started to compare classic ice cream recipes versus gelato. The gelato is kind of a cross between a sorbet and ice cream, that kind of sold it! If you have an ice cream maker, it makes it very simple, it’s a matter of making a light syrup, blending ingredients, cooling them and then putting them in the machine. I must say, I am very pleased with the results. Now I’m imagining all the different gelato flavours I can make with the fruit coming into season soon… Stay tuned!!!!
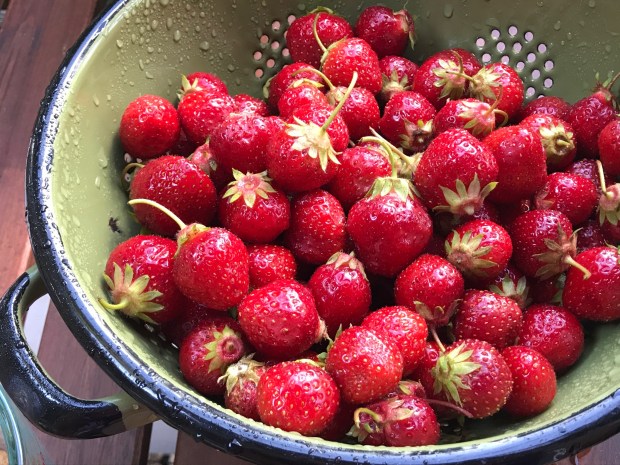


 Half way through my six week post-surgery recovery. For someone like me, hyperactive (!), it can be difficult remembering to take it slow, especially when you feel fine. When fever strikes, your body just takes over and stops you in your tracks! I’m missing the market so much, I try to console myself by remembering that when my recovery is over, it will be the best time for all the beautiful fruits and veggies. Cucumbers, tomatoes, peaches, plums, apricots and did I mention, Peaches? Can’t wait 🙂 In the meantime, my mom has graciously offered to go for me, although I’m happy for fresh fare, it’s not the same as seeing it all. To me, the market is like a candy store for a kid! It’s also a struggle creatively, the market is inspirational, it’s totally different making a list for someone else to go with the hopes of finding what you want, sometimes you see something you hadn’t thought of or something you wanted just doesn’t look quite ready yet… Plus the weather has been quite strange, mostly grey, some sun, lots of rain. I am happy that evenings are cool though, as it’s easier to sleep in the cool than in the heat 🙂
 INGREDIENTS